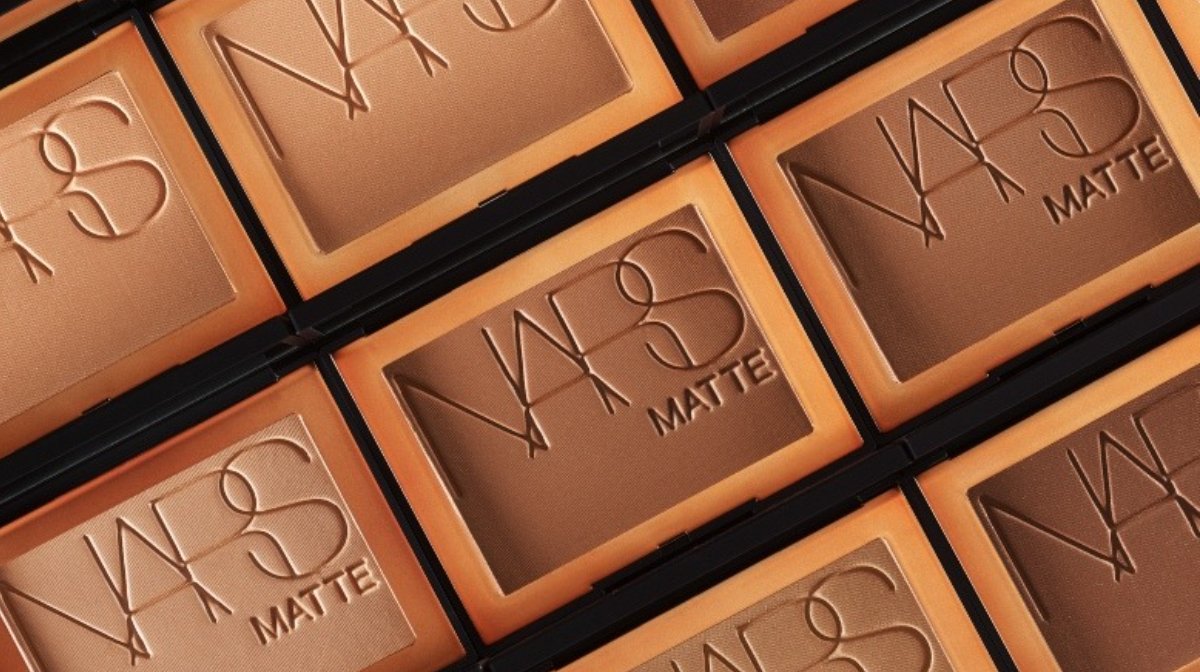
If you were born in the era before YouTube tutorials, your first experience with bronzer may have been a bit full on. Though there is more information out there on how to perfect your makeup like a pro, there’s still some confusion around bronzer; where to apply it, how much, and why it’s a key part of any makeup routine.
A good bronzer adds a touch of colour to your face to give your skin a healthier, sun kissed look. Though it’s not thought of as a self-tanning product, as it’s shouldn’t be applied to the whole face evenly, bronzer is there to mimic the look of a natural glow to give your complexion a boost of colour and warmth.
How to apply bronzer
Step 1: Choose your bronzer
Before you start brushing on bronzer in a bid to get that much craved summer glow, it’s important to identify the right product for you. Are you looking for a shimmery bronzer or a matte finish? Would you prefer a powder or is cream better for your skin type? Most importantly, what colour will suit you?
When deciding your desired finish, it all depends on your look, however for oily skin, a matte finish may be better to prevent adding unwanted shine. Similarly, if you suffer from dry or uneven skin, a cream based bronzer may be better to blend into your complexion as a powder may highlight uneven texture.
When picking your colour, keep in mind whether you have warm or cool undertones to your skin. The former is often indicated by greener veins on the wrist, whereas the latter is more common for people with blue or purple veins. Warmer skin tones tend to suit warmer, more golden shades, whereas if you have a cool skin tone, be careful of choosing a bronzer that is too warm for your skin and could leave you looking orange. When picking your shade, choose a tone that is 2 shades darker than your skin tone to make sure your bronzing looks natural and blends well.
Step 2: Pick your brush
A fluffy, loose bristled brush is often the best pick for applying bronzer. This is because it doesn’t pick up too much product and loosely dusts it onto the skin, effortlessly blending it in well, unlike a tighter bristled brush which may make it hard to blend product out.
The Real Techniques Powder Brush is designed to smoothly dust the skin with powder to give you an even and well blended finish. The brush is 100% cruelty free and lightweight, made of super soft bristles.
Step 3: Apply your bronzer
To apply your bronzer, first dip your brush in your chosen product then tap off any excess powder to ensure that it doesn’t look caked or heavy when applied to your skin. If using a cream or gel bronzer, first apply a small amount of product onto your skin using your finger tip and then blend out with either your finger or a brush, building it up if needed.
Where should you apply bronzer?
As mentioned, bronzer is there to mimic a natural looking glow, therefore you should apply your bronzer to the areas of the face that the sun would naturally hit, including the cheekbones and hairline. If you are using your bronzer to define and contour, you can also apply the product to the sides of your nose and jawline.
Once your have lightly applied your bronzer onto those areas, use your brush to blend it into the skin using small, circular stokes on the face to avoid straying too far from the area you are applying it to. If you are looking for an overall glow, use the brush to lightly dust the other areas of your face; no need to add more product onto your brush for this as you want to ensure that your cheekbones, forehead and jaw remain slightly more bronzed.
Shop all bronzers on LOOKFANTASTIC.


