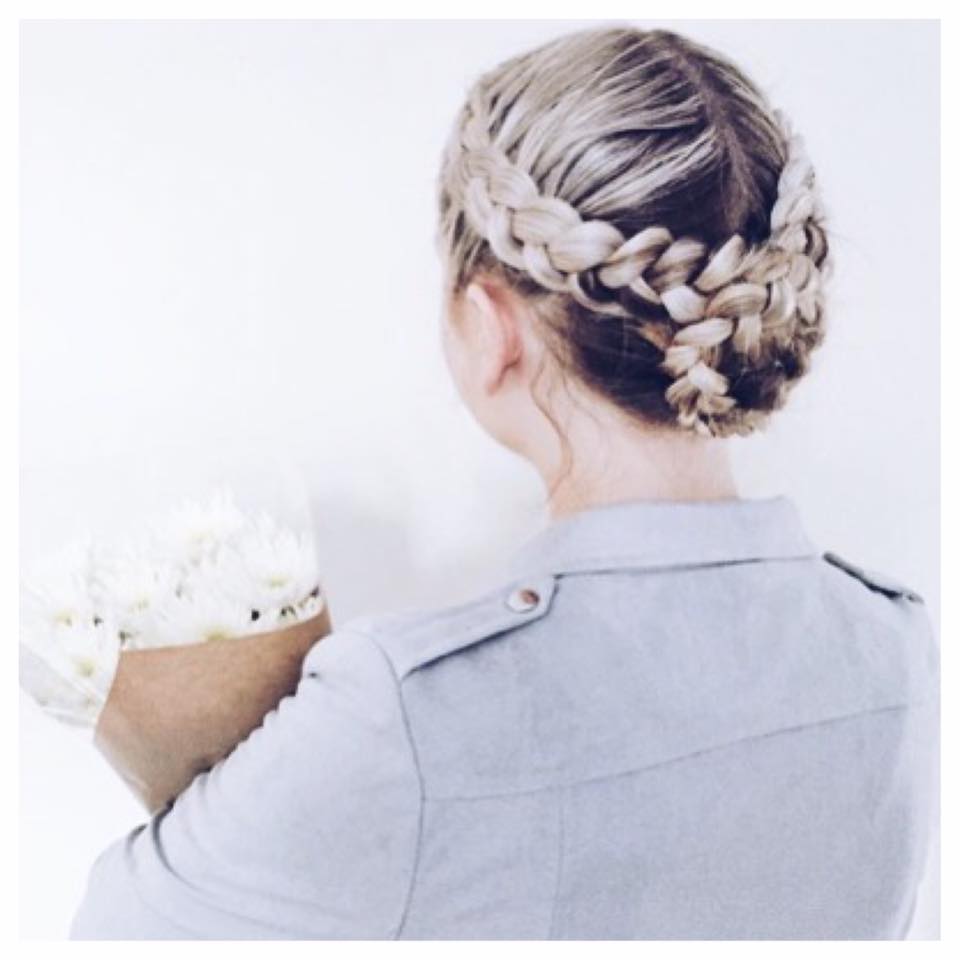
Braids and plaits are everywhere right now and we think they’re going to continue being the look of the season into Autumn too. We’ve partnered with Redken and our gorgeous #LFAmbassador Meg to show you how to do a Dutch Braid.
It is a great way to wear your hair up and is much easier than it looks. Just watch the video and read on to discover the step-by-step.
An Easy Dutch Braid Up-DoTutorial
- Prep your hair with hairspray. It adds a little grip and texture to your hair, making it easier to handle as you braid.
- Part your hair into 3 sections- 1 small section at the nape of the neck and then the rest split in 2 along the centre parting.
- Start plaiting from the front of the head on one side with an ‘inside-out’ french braid.
- Start with 3 small sections of hair and cross the left section of hair under the centre. Then cross the right section of hair under the centre.
- Repeat step 4 and keep adding more hair to the sections every time you cross the pieces under the centre strand.
- Secure the plait with an elastic band and then tease out the braid by gently pulling it apart. This will make it look more full and voluminous.
- Repeat on the other side, so you have 2 plaits.
- For the final up-do, use the unplaited section of hair at the nape of the neck to create a small bun. Then wrap this with the ends of your braids and secure with bobby pins.
- If you want to make it look a little lived in, apply a texturising spray as the finishing touch, running your hands over the top of your hair. Then that is you done, with a gorgeous hairstyle that everyone will love.


